Technician User Guide
ServiceOps provides technicians with comprehensive tools to manage IT services, resolve incidents, and streamline support workflows through an intuitive interface and powerful automation capabilities.
This guide introduces technicians to the ServiceOps platform, helping you understand your role, navigate the interface, and begin managing IT services effectively. Whether you're new to ServiceOps or transitioning from another ITSM tool, this guide will get you up and running quickly for all mapped personas.
Understanding Your Role and Access
Technician Roles and Responsibilities
As a technician in ServiceOps, you are responsible for delivering IT services and resolving user requests. Your role encompasses incident resolution, service request fulfillment, change management, asset management, and knowledge sharing.
ServiceOps provides several predefined technician roles, each with specific permissions:
| Role | Primary Responsibilities | Key Permissions |
|---|---|---|
| Service Desk Technician | First-line support, incident resolution | Create/edit incidents, basic asset access |
| Request Specialist Technician | Service request processing | Manage service requests, catalog access |
| Problem Specialist Technician | Root cause analysis, problem management | Problem investigation, RCA tools |
| Change Specialist Technician | Change implementation and management | Change planning, CAB coordination |
| Release Specialist Technician | Release deployment and coordination | Release planning, deployment tools |
| Asset Specialist Technician | Asset lifecycle management | Asset discovery, inventory management |
| CMDB Specialist Technician | Configuration item management | CI relationships, CMDB maintenance |
| Patch Manager | Software patch deployment | Patch scheduling, deployment tools |
| Project Manager | Project coordination and tracking | Project planning, resource allocation |
Your specific permissions depend on the roles assigned by your administrator. Contact your system administrator if you need access to additional features.
Accessing ServiceOps
Initial Setup and Login
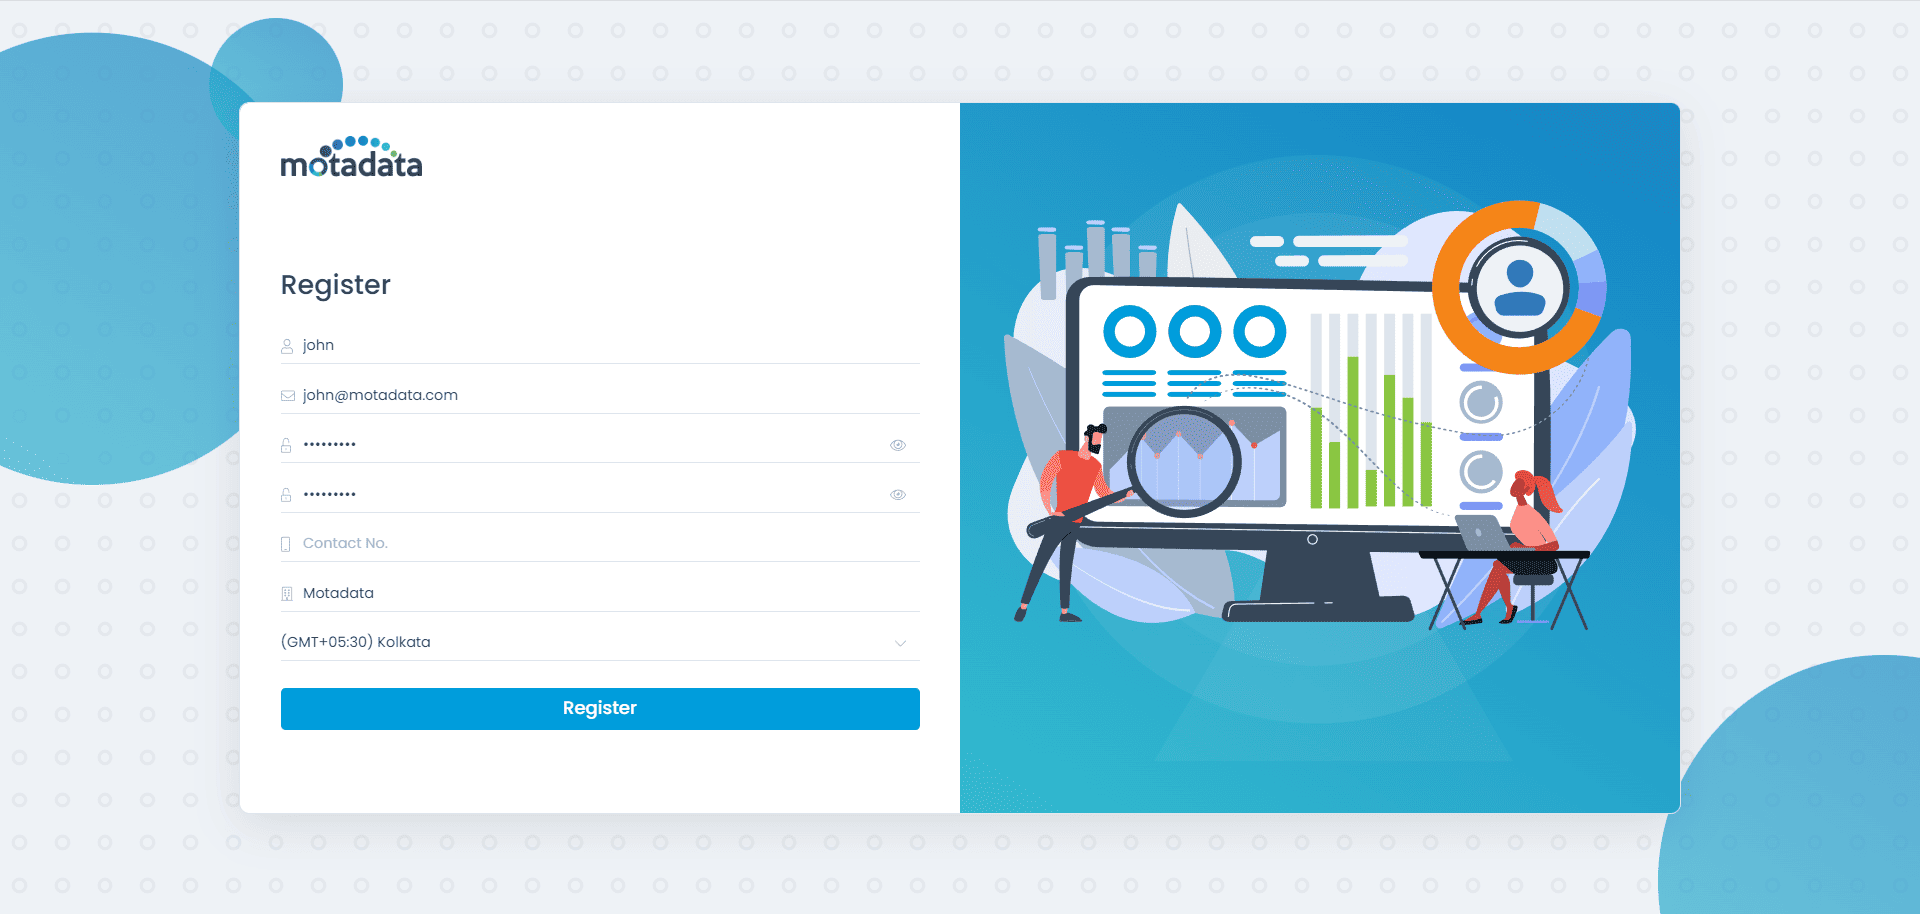
This one-time registration process is typically performed by the first administrator (Super Admin) to set up ServiceOps. As a technician, you will likely receive your login credentials from your administrator.
- Registration: Open
<your_instance_ip>/registerin your browser and fill in your details to create the Super Admin account.
- Login: Navigate to your ServiceOps instance using the URL provided by your administrator.
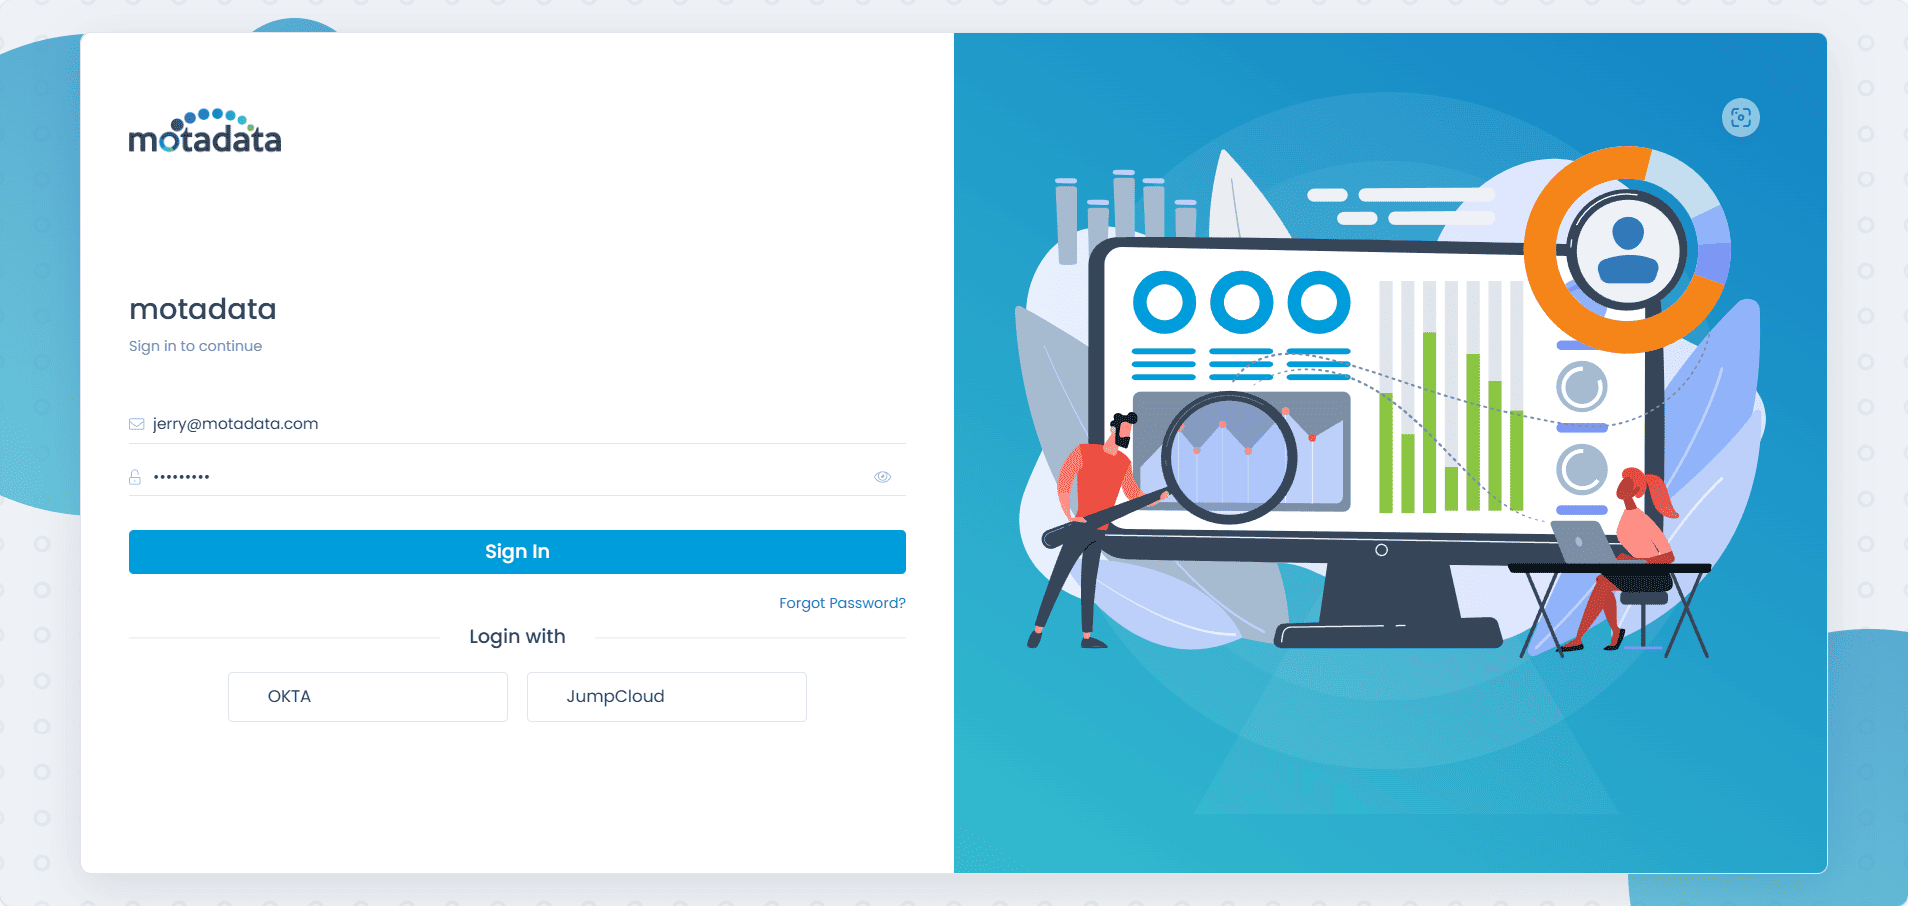
- Enter credentials: Email address (or username) and password, then click Sign In.
If your organization has configured Single Sign-On (SSO), you may see additional login options for services like OKTA, Azure AD, or JumpCloud.
- User Consent (if enabled): Grant permission to access your personal data to complete the sign-in process.
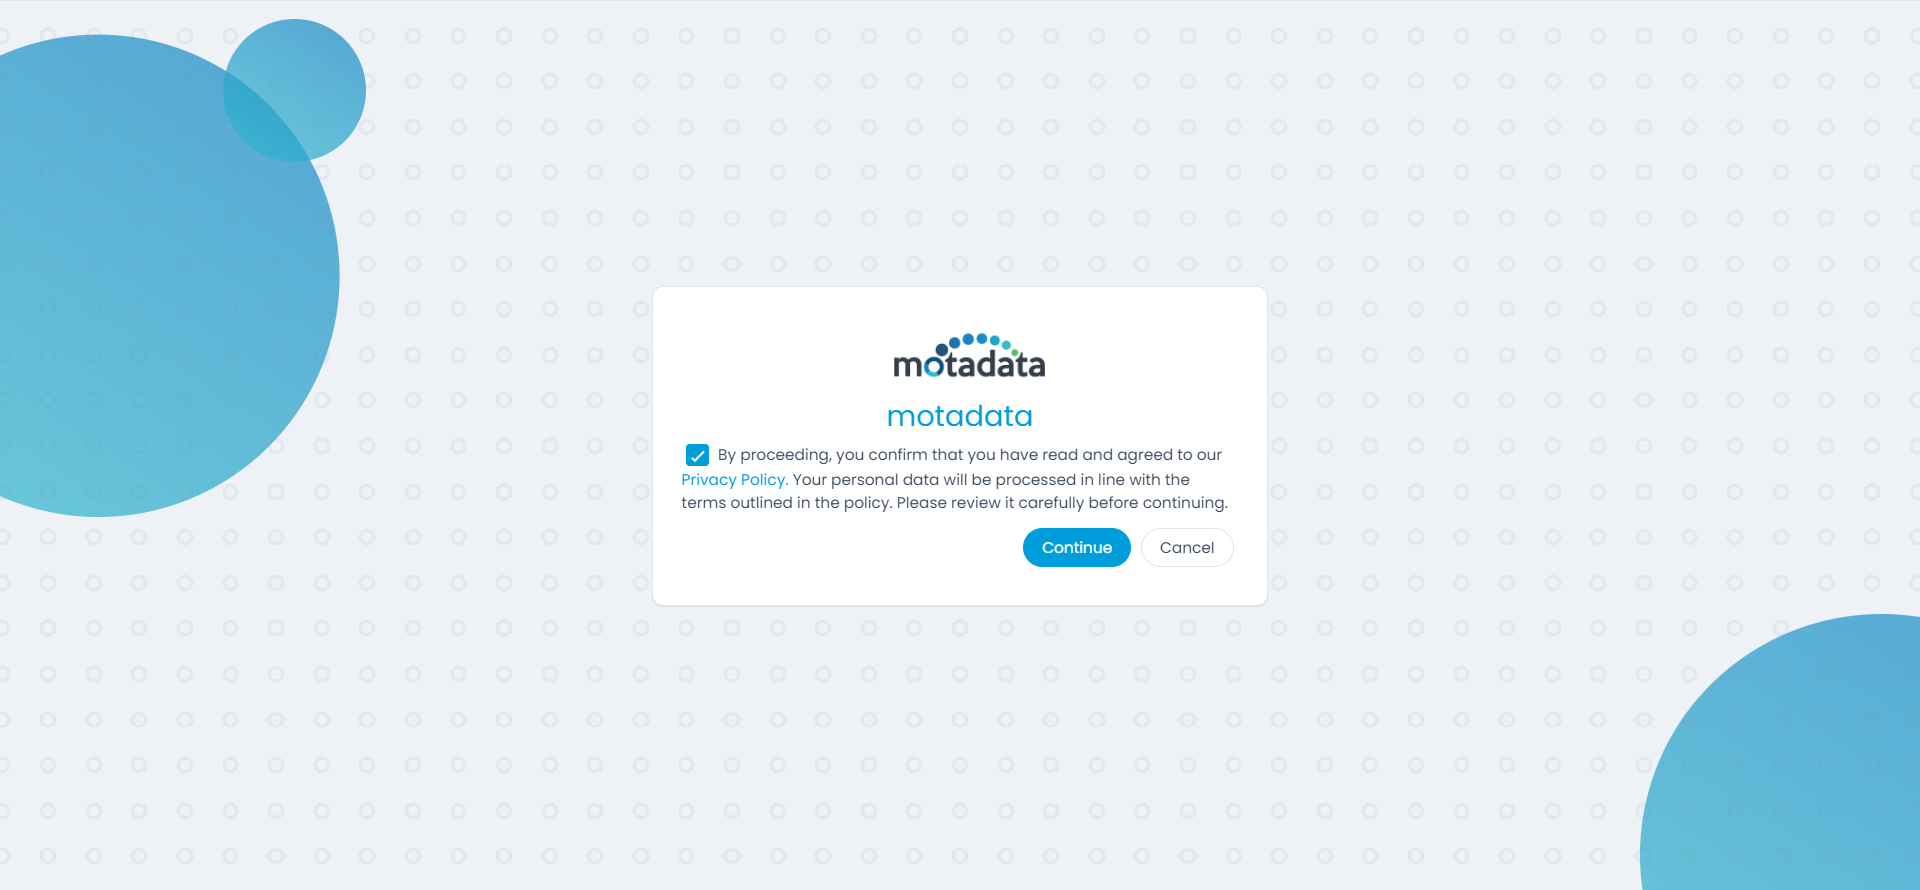
The user consent screen only appears if the User Consent feature is enabled in Privacy Settings. Once provided, consent won't be requested again unless privacy policies are updated.
Interface Navigation and Essential Features
- Main Dashboard
- Essential Workflow
- Collaboration & Communication
- Best Practices & Configuration
Upon successful login, you'll see the main dashboard that provides:
- Overview of your assigned work: Open incidents, pending approvals, overdue tasks
- Quick statistics: Request counts, resolution times, SLA compliance
- Recent activity: Latest updates on your assigned items
- Quick actions: Create new incidents, requests, or access frequently used features
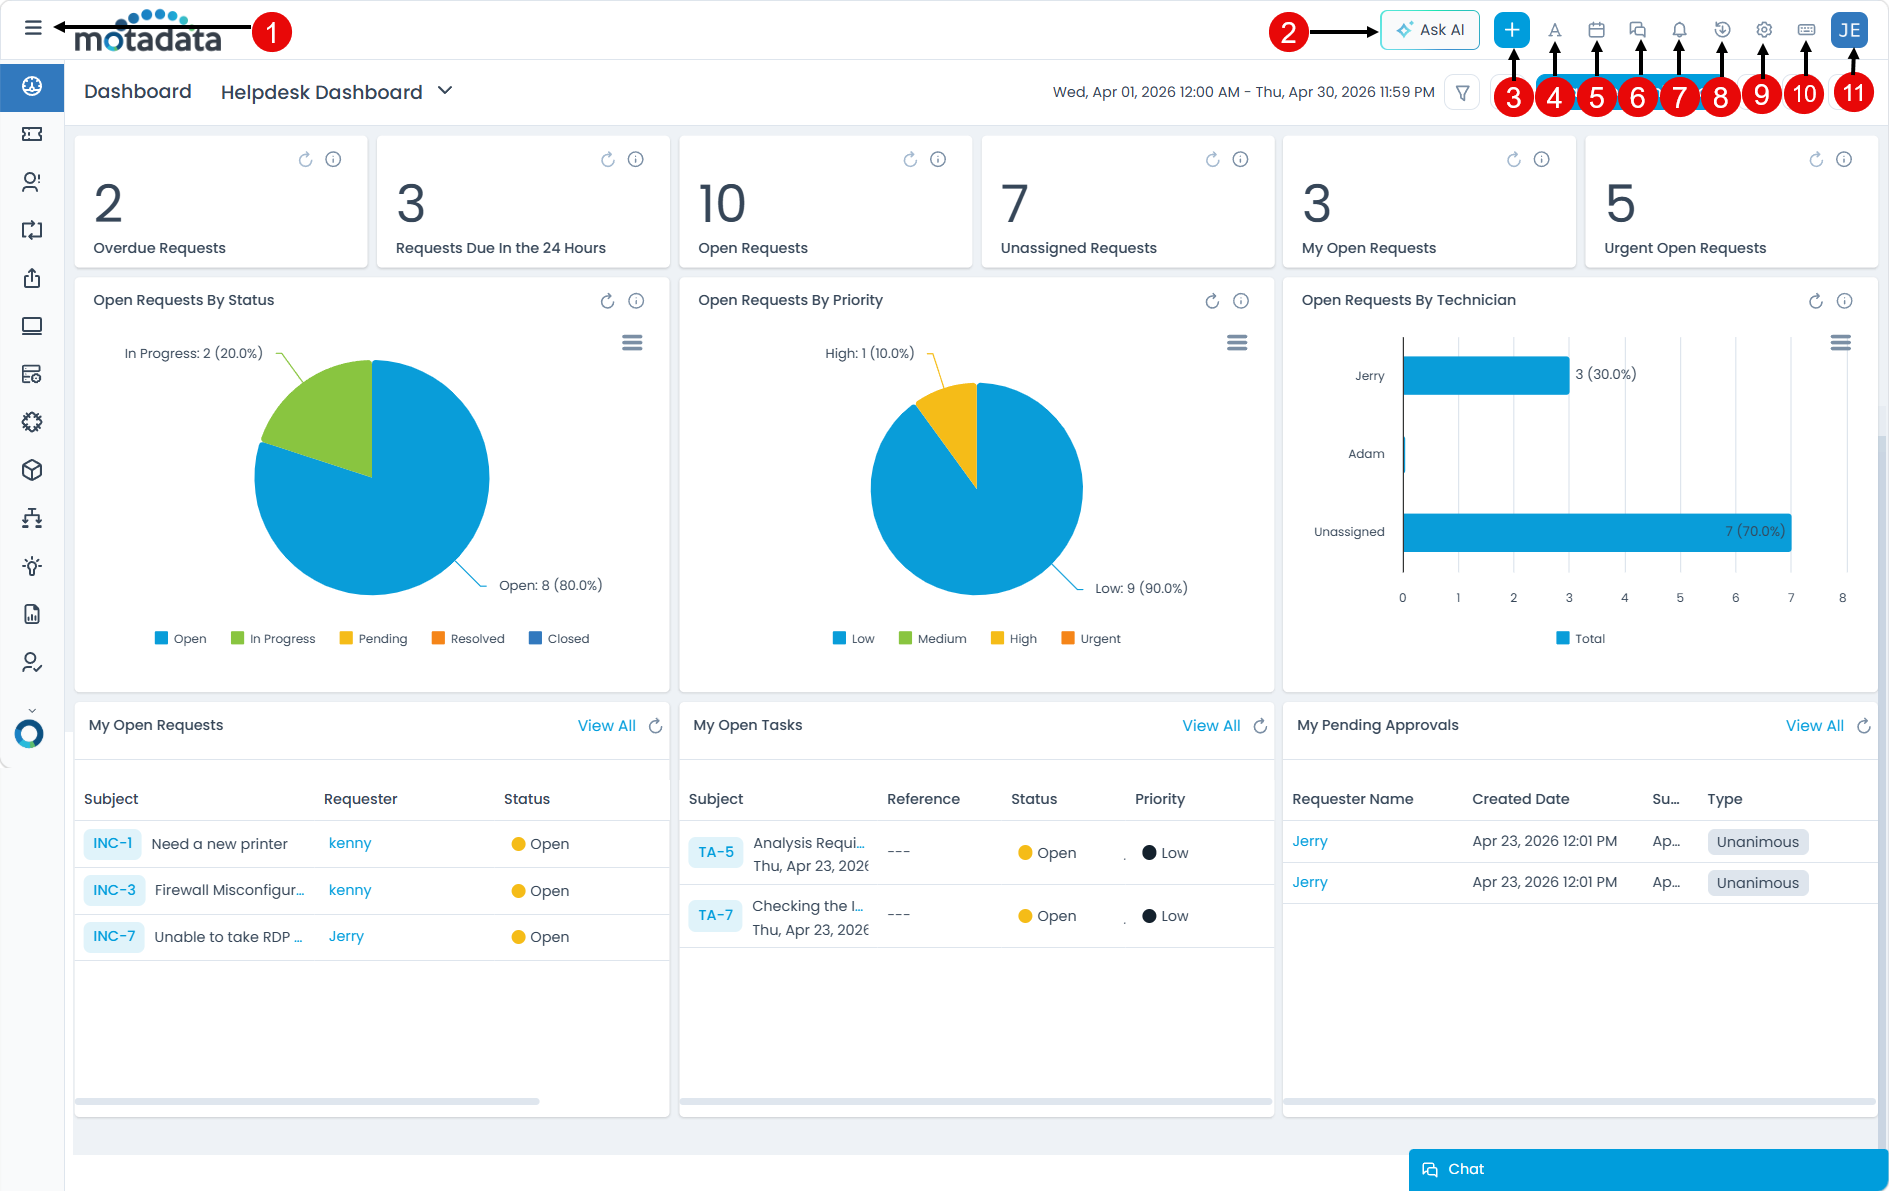
Top Navigation Bar
The top navigation bar contains essential tools and features:
- Expand/Collapse Menu: Click to expand or collapse the menu bar.
- Create New: Quick access to create incidents, requests, problems, changes, releases, assets, cis, purchase orders, projects, and contracts.
- Font Size: Click to increase, decrease, or reset the font size of the text in the application. This option is visible only if Application Accessibility is enabled from the Application Settings page.
- Calendar: View scheduled tasks and due dates. It displays a list of requests and tasks that are due within the selected time range.
- Chat Console: Access requester chats and virtual agents
- Notifications: View system notifications and updates
- Downloads: Track file downloads and manage large file transfers
- Admin Settings: Access administrative functions (if you have admin permissions)
- Keyboard Shortcuts: View available keyboard shortcuts.

- User Menu: Access your profile, sign out, or view the support portal
Sidebar Navigation
The sidebar provides access to all major modules:
- Dashboard: Overview and analytics
- Request Management: Incidents and service requests
- Problem Management: Root cause analysis and problem tracking
- Change Management: Change planning and implementation
- Release Management: Release coordination and deployment
- Asset Management: Hardware, software, and consumable assets
- CMDB Management: Configuration items and relationships
- Contract Management: Contract tracking and maintenance
- Purchase Management: Purchase order processing
- Patch Management: Software patch deployment
- Package Management: Software package deployment
- Project Management: Project coordination and tracking
- Knowledge Management: Knowledge base articles
- Reports: Analytics and reporting tools
- Approval Management: Pending approvals and decisions
- Task Management: Task creation and tracking
- My Team: Team collaboration and delegation
- Admin Section: System configuration and settings
Notifications
Enable the notifications that you want to receive as per the options enabled in the Preference Settings. By default all are disabled except for "My approval is requested". To mark them as read, click the Mark all as read option or click the Clear All option to clear all the notifications.


In the Preference Settings, you can select the desired options based on which you will receive the notifications. You can also set the preference to view the notifications for email failure.
Downloads
This feature enables you to track large file downloads initiated by the logged-in user. Upon clicking, it displays the download details, including Name, Module, Status, Event Start Time, and Event End Time. Users can re-download completed files, and cancel the ongoing download.
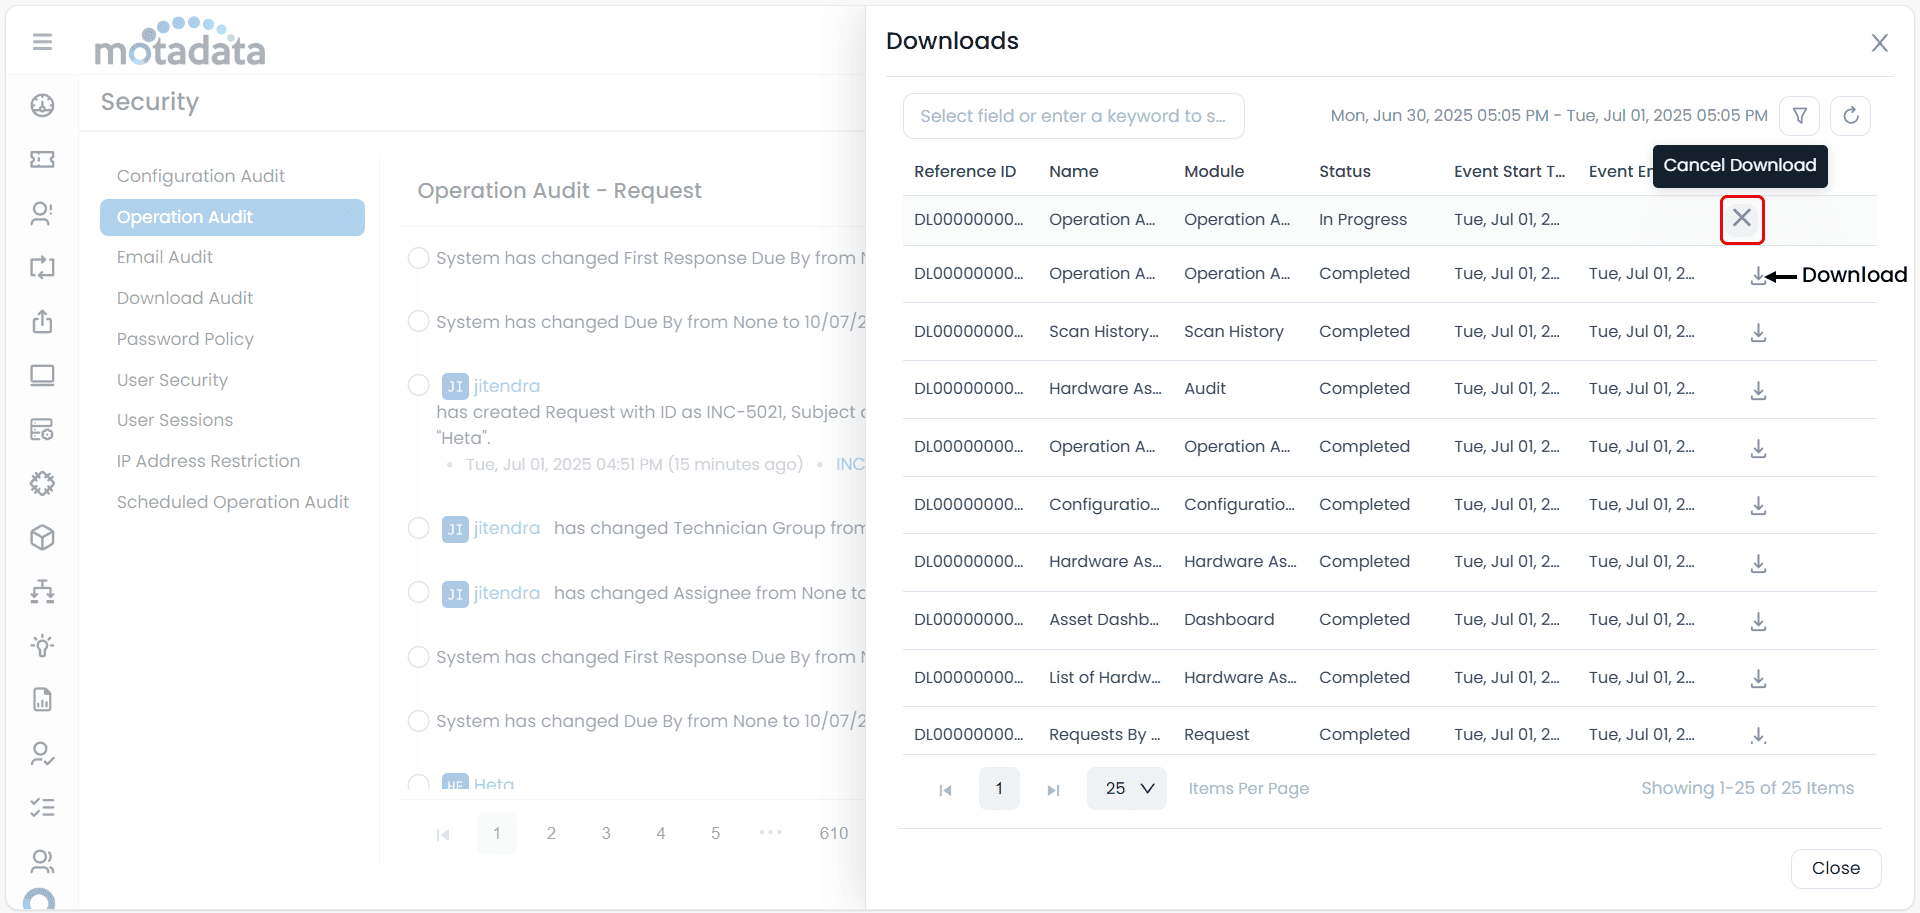
The feature applies to the following sections:
- Report Download
- List page of all the modules
- Asset Depreciation
- Audit trails of all the modules
- History (Audit Trail, Change Logs, Scan History, WOL History, Movement History, and Repair History) of the Asset module
- Dashboard download as PDF
- Configuration Audit, Email Audit, and Operation audit of Admin Security
Ask AI (AI Assistant)
The Ask AI feature brings the power of configured AI directly into the technician's workspace. Instead of manually searching through tickets, knowledge articles, or past incidents, you can ask the AI Assistant in plain language and get contextual, intelligent responses. Whether you are handling a high-priority incident or resolving a repetitive service request, the AI Assistant helps you act faster and with more confidence.
This option is available only if the AI module is enabled and you have permission to access the AI assistant.
Click Ask AI in the top navigation bar to open the AI Assistant chat window.

The chat window provides the following options:
- Start a New Support Chat Request: Click to begin a fresh chat session. Any ongoing conversation is cleared and a new session starts.
- View Chat History: Access previous chat sessions to review past interactions and responses. You can also edit or delete the required chat from the list.
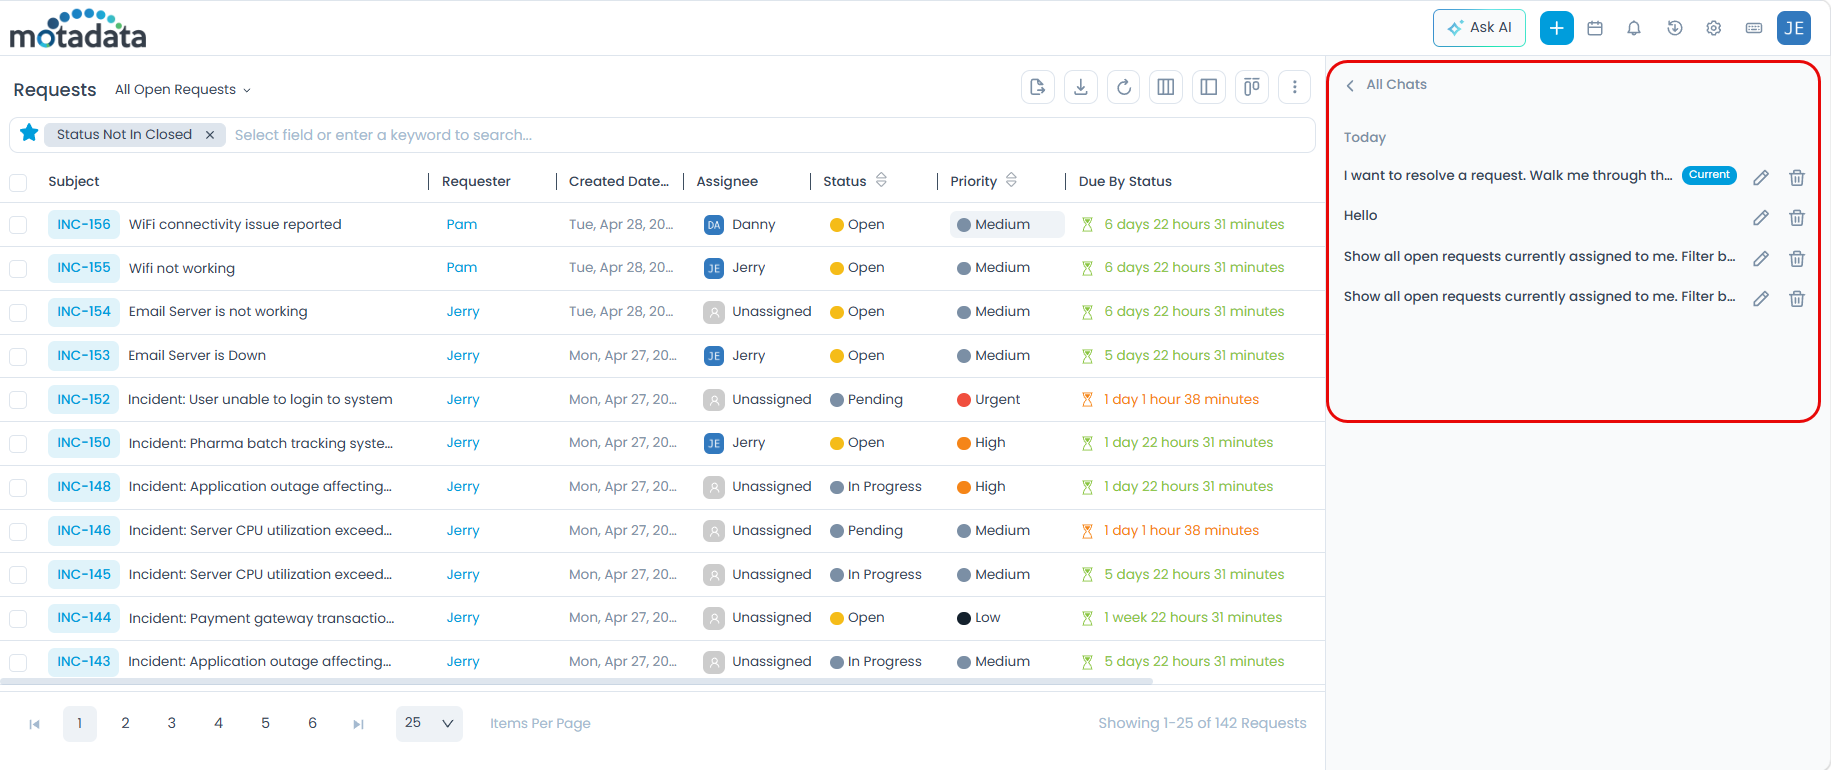
- Close the Chat Window: Click to dismiss the AI Assistant panel without ending your session.
- AI Agent or AI Team: Select the AI Agent or AI Team you want to interact with from the dropdown in the message input field. Selecting a specific agent or team directs your query to that configured entity, ensuring responses are tailored to that agent's or team's knowledge and capabilities.
How to get started:
- Click Ask AI in the top navigation bar.
- Select an AI Agent or AI Team from the dropdown in the input field.
- Choose a suggested action or type your own query.
- Review the AI response and take action directly from the chat.
Suggested Actions
Once you select an Agent or Team, suggested actions appear in the chat window to help you get started quickly. Click any action to automatically send it as a prompt, no typing required.
| Suggested Action | What It Does |
|---|---|
| My Assigned Requests | Lists all open requests currently assigned to you |
| Resolve a Request | Guides you through resolving an open request by drawing on the configured knowledge sources |
| Find a Solution | Searches knowledge sources to present relevant solutions and workarounds for your issue |
For complex, multi-step issues that span more than one domain, such as onboarding involving IT, HR, and facilities, select an AI Team for coordinated assistance. For focused, single-domain tasks, a single AI Agent is the faster choice.
To learn more about how AI Agents and Teams are configured, see AI Studio.
Understanding Request Types
ServiceOps handles different types of requests:
- Incidents: Unplanned interruptions or degradations of service
- Service Requests: Pre-approved requests for standard services
- Problems: Underlying causes of multiple incidents
- Changes: Planned modifications to IT infrastructure
- Releases: Coordinated deployments of changes
Basic Request Management
- View assigned requests from your dashboard
- Open a request to see full details and history
- Update status as you work on the request
- Add comments to keep stakeholders informed
- Attach files for documentation or evidence
- Link related items to show relationships
- Resolve or close when work is complete
Typical Workflow Steps
- Receive Assignment: Check for newly assigned incidents or requests
- Investigate: Gather information and understand the issue
- Take Action: Implement solutions or escalate as needed
- Update Status: Keep stakeholders informed of progress
- Resolve: Complete the work and document the solution
- Follow Up: Ensure satisfaction and prevent recurrence
Team Collaboration
- My Team: View team members and their current workload
- Delegation: Assign work to team members when appropriate
- Shared dashboards: Access team-specific views and reports
- Team chat: Communicate with team members through the chat console
Stakeholder Communication
- Regular updates: Keep requesters informed of progress
- Escalation: Escalate issues when needed
- Approvals: Request approvals for changes or purchases
- Knowledge sharing: Contribute to the knowledge base
Getting Help and Support
Self-Service Resources
- Knowledge base: Search for solutions to common issues
- How-to guides: Step-by-step instructions for specific tasks
- Video tutorials: Visual guides for complex procedures
- FAQ section: Quick answers to frequently asked questions
Support Channels
- Chat support: Real-time assistance from support representatives
- Email support: Detailed technical questions and issues
- Phone support: Urgent issues requiring immediate attention
Escalation Procedures
Know when and how to escalate issues:
- Technical issues: Escalate to senior technicians or administrators
- System problems: Contact system administrators
- Feature requests: Submit through the appropriate channels
- Training needs: Work with your manager or training coordinator
Essential First Steps
- Review Your Assigned Work: Check your dashboard for open incidents, pending approvals, overdue items, and upcoming tasks
- Configure Your Preferences: Set up notification preferences, dashboard layout, email settings, and working hours
- Explore Key Features: Learn search functionality, quick actions, keyboard shortcuts, templates, and knowledge base access
Time Management
- Prioritize work based on urgency and impact
- Set realistic expectations for resolution times
- Use automation to reduce manual tasks
- Batch similar work for efficiency
Quality Assurance
- Document solutions thoroughly in the knowledge base
- Follow standard procedures for consistency
- Validate fixes before closing requests
- Learn from patterns to prevent recurring issues
Professional Development
- Stay updated on new features and capabilities
- Contribute to knowledge base to help colleagues
- Participate in training opportunities
- Share best practices with your team
Next Steps
Now that you understand the basics, explore these areas to enhance your ServiceOps experience:
- Advanced Features: Learn about automation, workflows, and advanced reporting
- Module-Specific Guides: Deep dive into the modules most relevant to your role
- Administrative Functions: Understand system configuration and user management
- Integration Capabilities: Explore API usage and third-party integrations