Linux File Server Installation
Enables centralized file storage for patch and package management, providing the backbone for remote deployment operations in multi-location environments.
This guide provides step-by-step instructions for installing the Linux File Server on Ubuntu and Red Hat Enterprise Linux systems.
1. Prerequisites
System and Network Requirements
- Supported OS: Ubuntu 22.04 LTS+, Red Hat Enterprise Linux 9.2+, CentOS 9.2+.
- System Requirements: Minimum 4GB RAM, 50GB available disk space, root/sudo privileges.
- Network: Firewall ports 80 (HTTP) and 443 (HTTPS) must be open for communication with the main ServiceOps server.
2. Installation Process
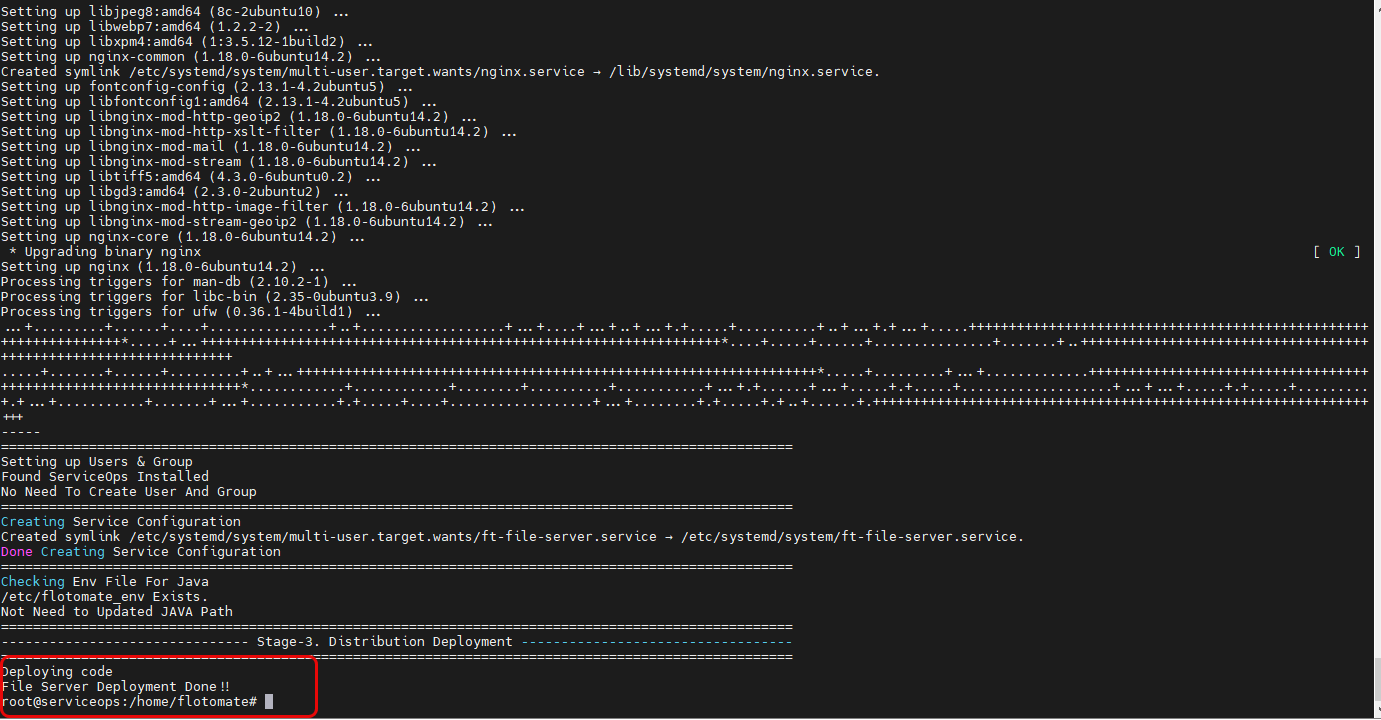
Step 1: Download and Prepare
Download: Get the
MotadataCommonFileServerpackage from the Download Links.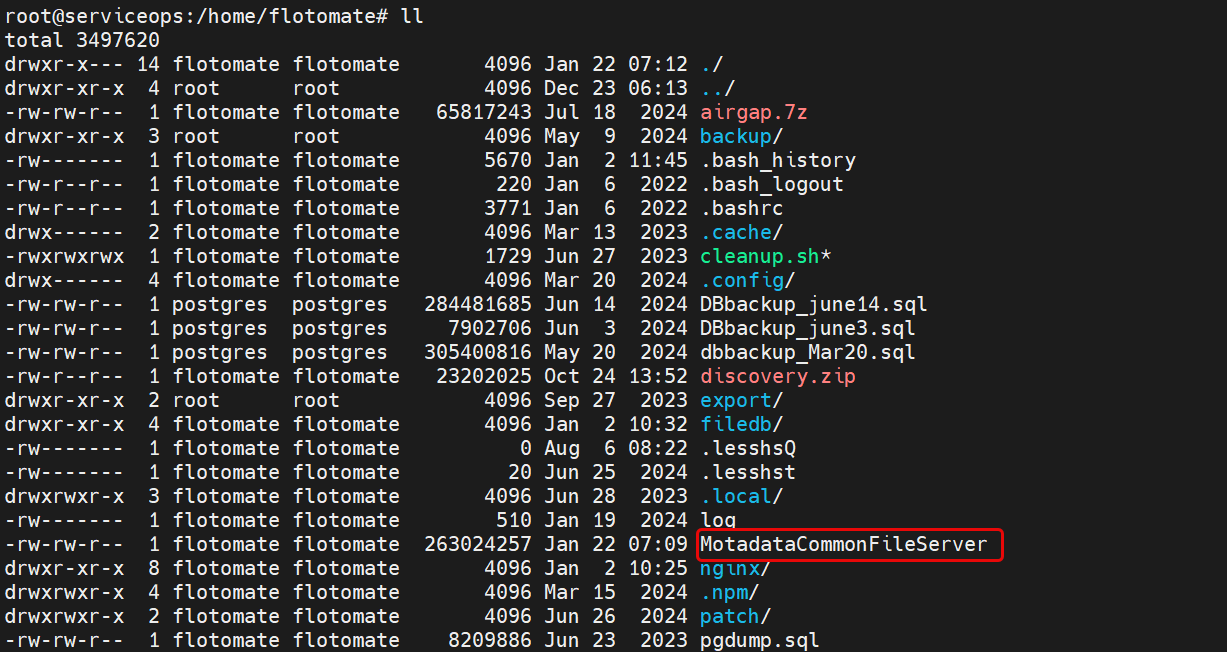
Prepare: Transfer the file to your Linux server and set execute permissions:
chmod 777 MotadataCommonFileServer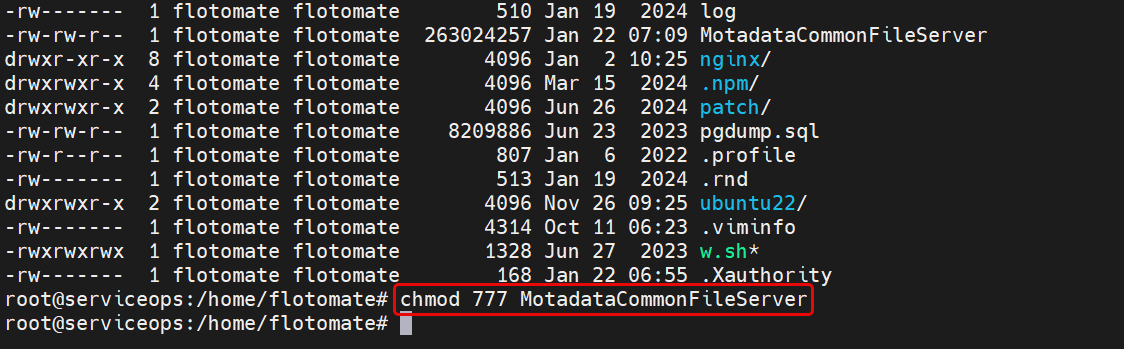
Step 2: Execute and Configure
Run Installer:
./MotadataCommonFileServer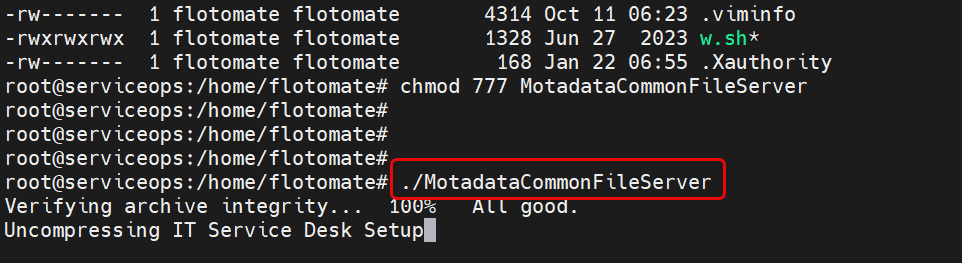
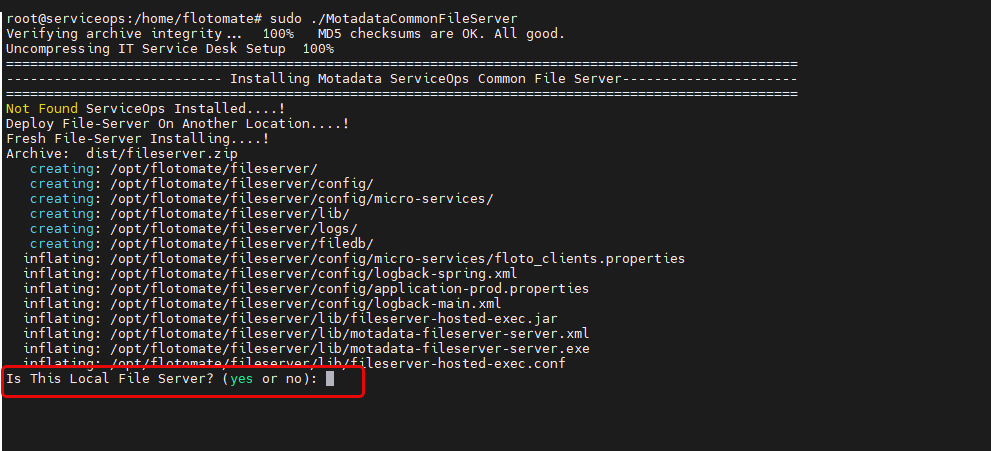
Configure Settings: The command prompt will ask for the File Server type and connection details. Choose the correct type based on your deployment strategy, as this affects patch distribution performance and bandwidth usage (conceptually the same as Windows—see Windows File Server Installation).
File Server Type (Local vs External):
- Local File Server (YES): Type yes when the File Server is installed on the same machine as ServiceOps. It acts as the Primary File Server (downloads patch content and serves endpoints).
- Remote File Server (NO): Type no when the File Server is installed on a separate machine (for example, in a remote office). It can be used as a Primary or Distribution/Relay server depending on your topology. This is also known as a External File Server.
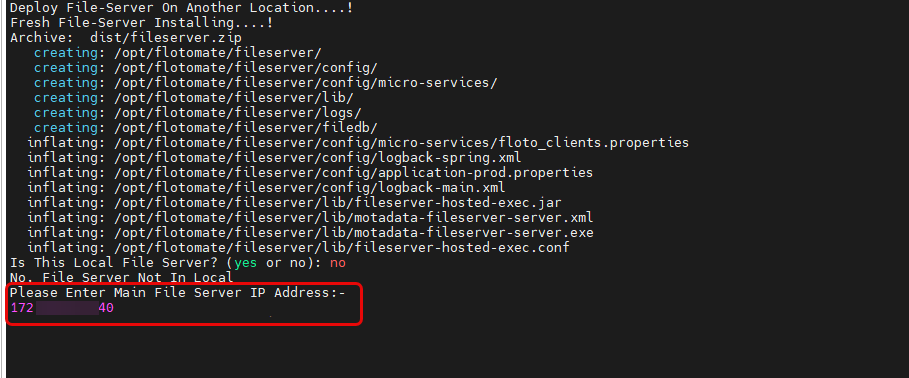
ServiceOps Server Details (Remote Only): If you type no, enter the ServiceOps server IP/URL (and confirm protocol/ports when prompted).
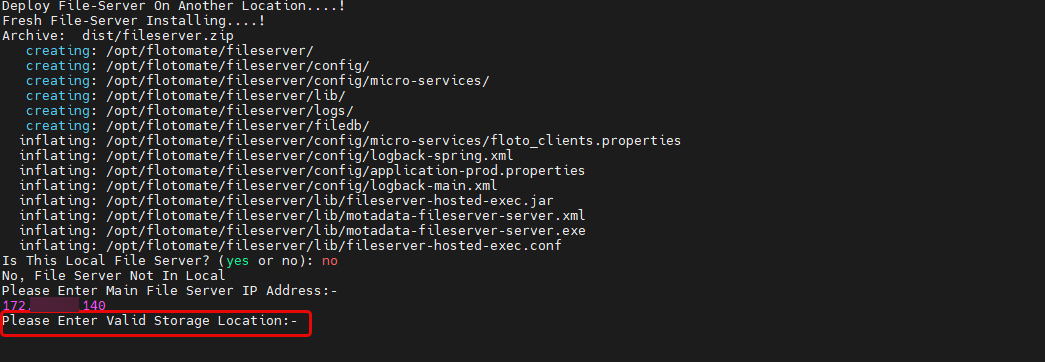
Storage Location: Enter a path or press Enter for the default.
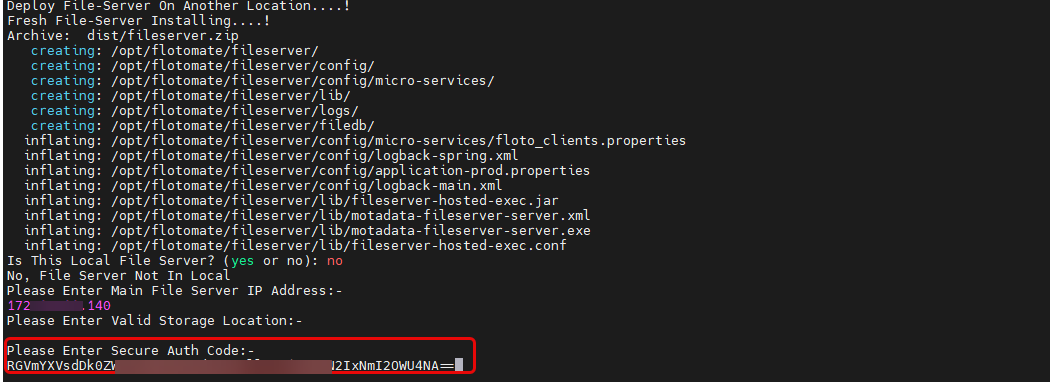
Secure Auth Code: Enter the code from the ServiceOps portal (Admin > Patch Management > Patch Settings > Credential Profile).
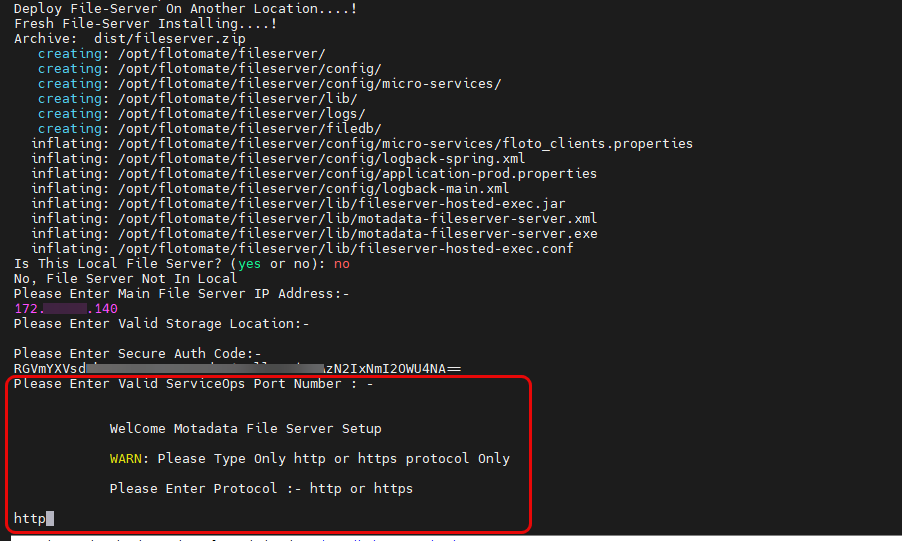
Ports: Confirm the default HTTP (80) and HTTPS (443) ports or specify custom ones.
note- If the File Server is configured with HTTPS protocol, a valid CA-signed SSL certificate must be installed and configured on the application server.
- File server connectivity will not be established if self-signed, expired, or untrusted certificates are used.
- If a valid CA-signed certificate is not available, configure the File Server to use HTTP only.
Step 3: Verify Installation
Check Service Status:
systemctl status ft-file-serverThe service should be
active (running).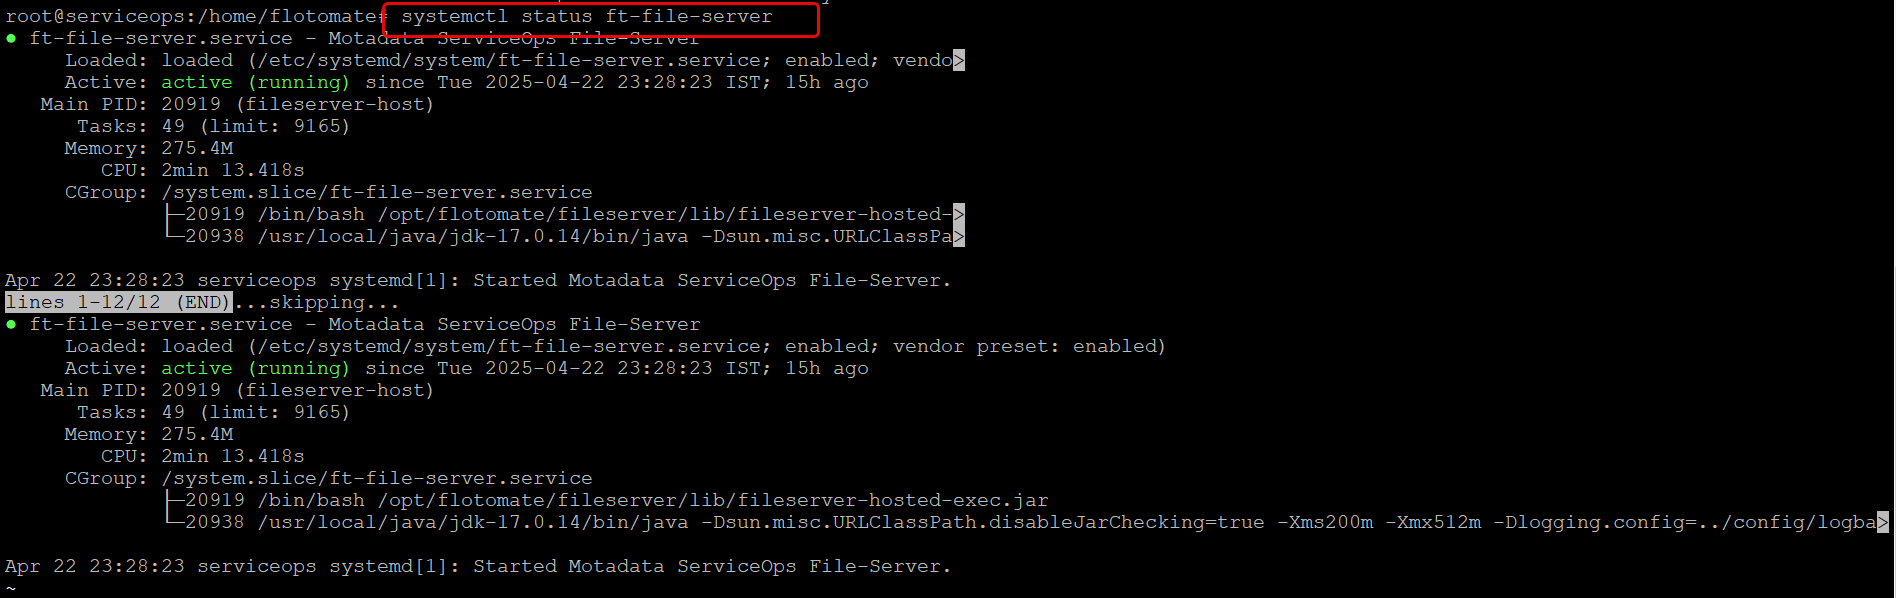
Enable Auto-Start:
sudo systemctl enable ft-file-server
3. File Server Roles (Primary vs Distribution)
These roles are OS-agnostic. For the full explanation and patch flow, refer to:
- Primary File Server – Role and Importance
- Distribution Server – Role in Remote Offices
- Patch Distribution Flow (End-to-End)
4. Example Deployment Scenario
This example mirrors the Windows guide to keep the topology consistent across environments.
- Headquarters (HQ): Mumbai
- Remote Office: Bengaluru
| Location | Components Installed | File Server Role |
|---|---|---|
| HQ (Mumbai) | ServiceOps + File Server (Same machine) | Primary File Server |
| Bengaluru | File Server (Separate machine) | Distribution Server |
For a step-by-step flow, see Example Deployment Scenario.
5. Post-Installation and Operations
This section explains how to verify the File Server in Motadata ServiceOps, set its public URL (for remote access), and assign it to remote offices for efficient patch distribution. It also includes maintenance, troubleshooting, and upgrade/security best practices.
Verify and Configure in ServiceOps
Verify Registration: In the ServiceOps portal, navigate to Admin > Patch Management > Patch Settings > File Server to confirm your server appears in the list.
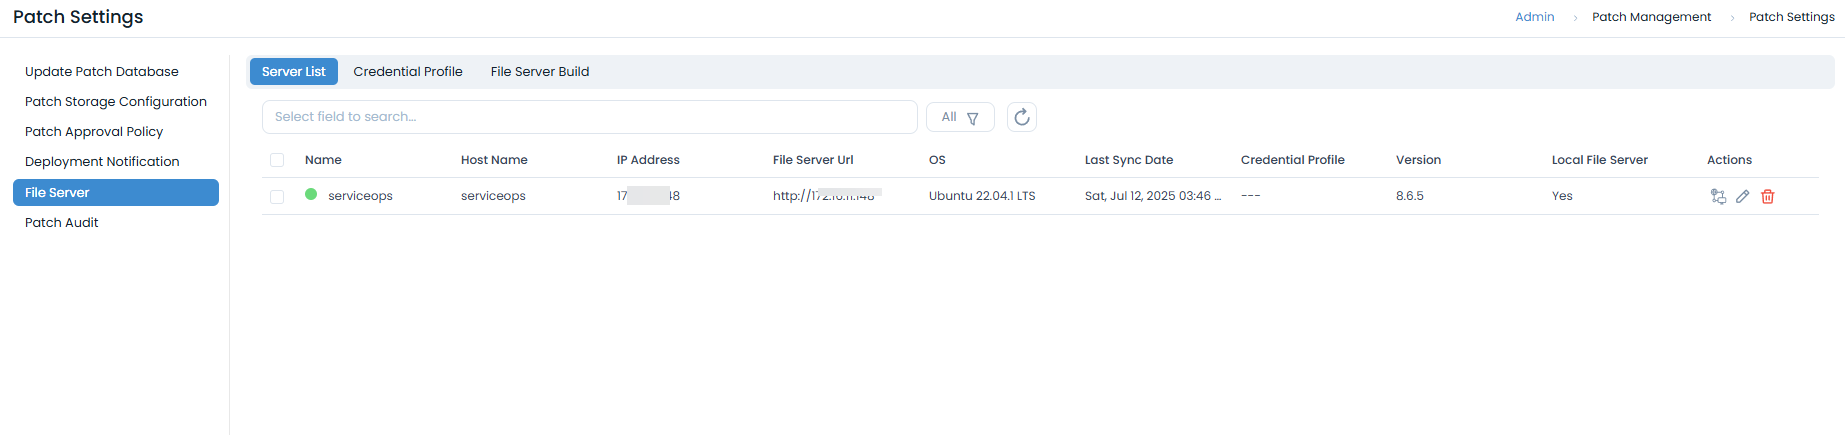
Configure URL (Remote Only): For remote installations, click Edit on the file server and update the File Server URL with its public-facing address (e.g.,
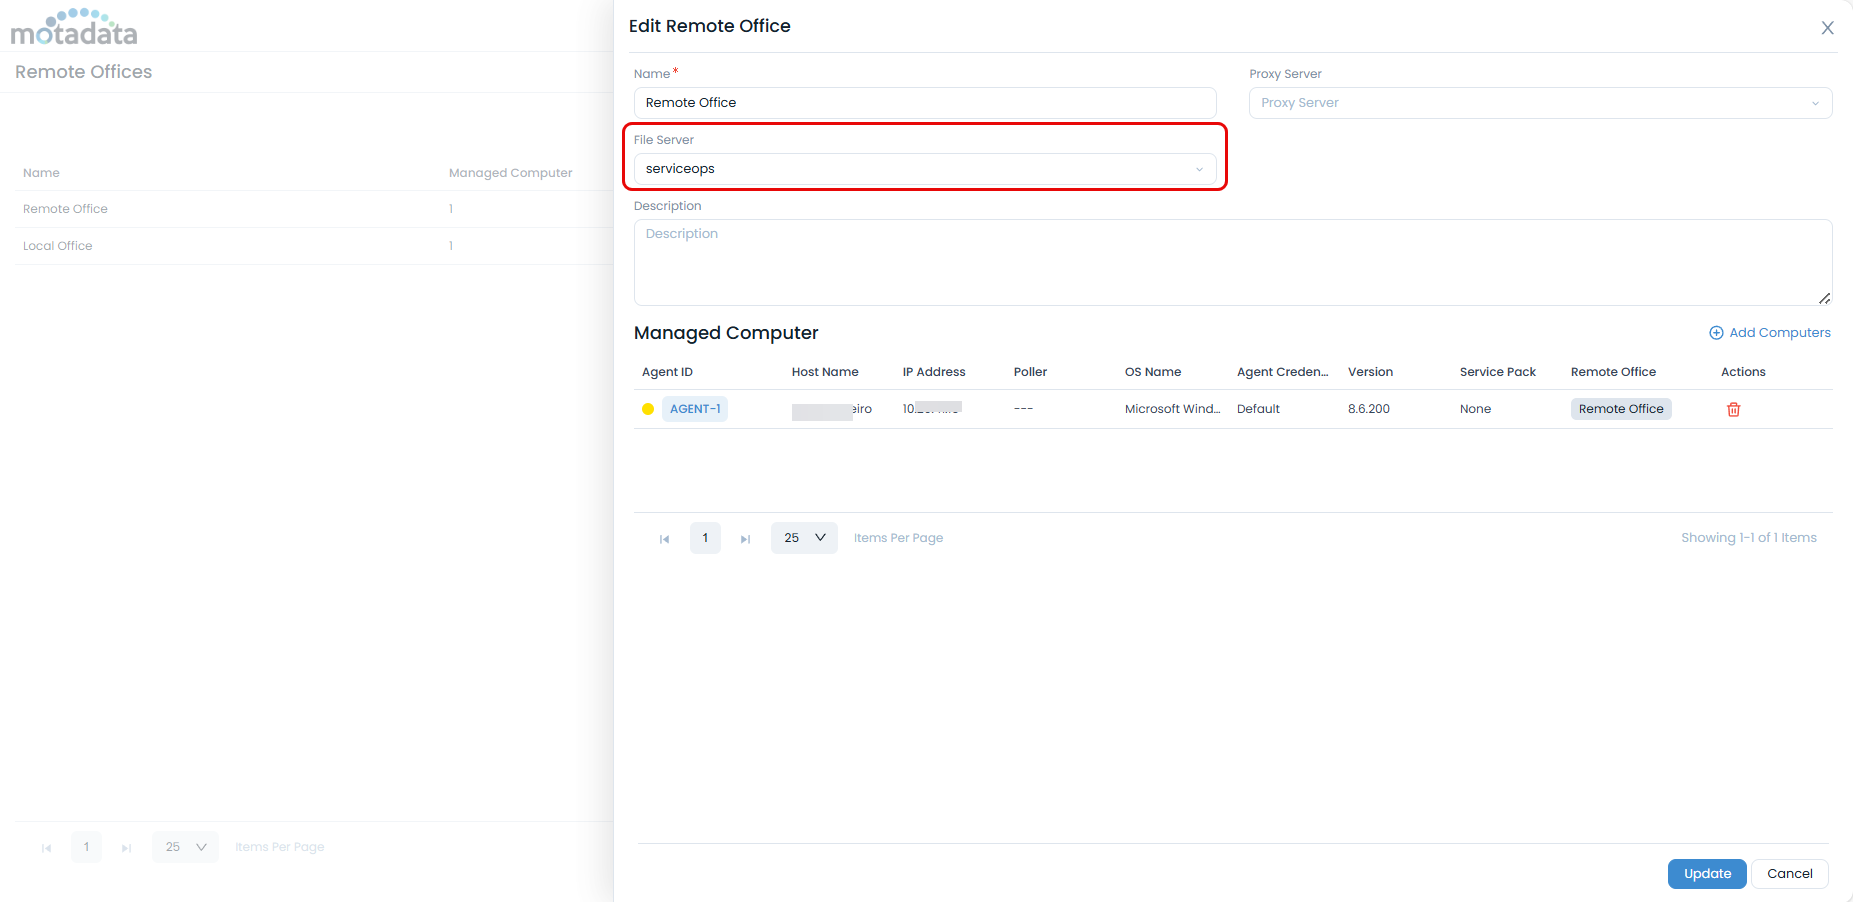
http://your-file-server-ip).Configure Remote Offices: If you have multiple locations, assign the file server to the appropriate remote office under the Remote Offices tab.
6. Operations and Maintenance
Service Management
Manage the ft-file-server service using systemctl commands (start, stop, restart, status). Check real-time logs with sudo journalctl -u ft-file-server -f.
Troubleshooting
- Service Fails to Start: Check for port conflicts with
netstat -tlnpand review service logs withjournalctl. - Authentication Issues: Verify the Secure Auth Code and network connectivity to the main server.
- Log Locations: The logs are available in the
/opt/flotomate/file-server/logsfolder.
Upgrade and Security
Upgrade Guidelines
- Backup your configuration.
- Stop the
ft-file-serverservice. - Run the new installer package.
- Verify the service and registration post-upgrade.
Security Best Practices
- Configure your firewall (
ufworfirewalld) to only allow traffic from trusted IP addresses on ports 80 and 443. - Use SSL/TLS certificates for production environments.